In order to illustrate how fragmentation occurs, I created a
PDF document (
Fragmentierung.pdf) with one page for each step of the fragmentation.
This is how I converted it to an animated GIF. The first step was to create a series of PPM files, one file for each page. The option
-r 384 sets the resolution to 384 dpi. This somewhat odd resolution is four times 96 dpi which in turn is the resolution of the PDF being converted.
The pdftoppm command generates files that are numbered.
The files resulting from this conversation are huge in both display and storage size so the next step is to rescale them to a reasonable resolution. My choice was a width of 800 times 600. the for loop iterates over all PPM files, the output of the pamscale command sent to a file with a name based on the original file name using the shell's own capability to process strings. Finally, the
--filter option controls how precisely the original high-resolution image is mapped to the low resolution one.
Let's assume the original file name is
Fragmentierung-1.ppm. Then
${i%.ppm} yields
Fragmentierung-1 and
${i%.ppm}_new.ppm results in
Fragmentierung-1_new.ppm.
The result of this command - which on my old machine requires a considerable amount of time - is a new series of files that are considerably smaller than the original ones.
As the old files are no longer needed, I replace them with the corresponding new ones.
Now we have ppm files of the right size that are simply numbered.
The PPM files usually have more than 256 colors (which is the maximum for GIFs). For this reason I use
pnmcolormap to generate colormaps for the individual files that have no more than 256 colors.
This command results in tons of diagnostics output created by pnmcolormap.
The next command performs two tasks at the same time:
pnmremap uses the colormap to map the original colors to no more than 256 with the
-fs option making sure that Floyd-Steinberg dithering is used. Then the output converted to GIF formatusing
ppmtogif and is written to a file with the file name extension
.gif.
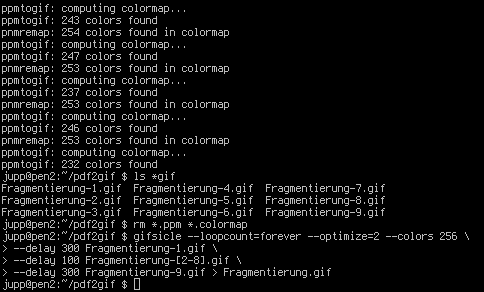
In this case both commands are a bit chatty so you again get lots of output.
Now we are almost done as we have a set of GIF files.
Just discard all the intermediary files. The next command looks complicated like hell but it isn't.
gifsicle generates an animated GIF from a number of input files that need to be in GIF format.
- --loopcount=forever makes the animation loop forever (i.e. after displaying the last frame of the animation it always restarts with the first one)
- --optimize=2 optimizes the generated file as much as possible (without this option the file gets even bigger)
- --colors=256 makes sure that the generated file has no more than 256 colors. This may seem superflous as each input file already has no more than 256 colors but the colors may happen to be different so that the overall number can be larger than 256.
The most important part of the command is the
--delay options. If you provide this option, it applies to each image that follows up to the next command. Hence, in this case the first delay of 3 seconds applies to
Fragmentierung-1.gif only, the delay of 1 seconds to
Fragmentierung-2.gif through
Fragmentierung-8.gif and the second delay of 3 seconds to
Fragmentierung-9.gif.
Finally done. Here is the animated gif that results from this effort.